GSPro has the best targeting tools of any major golf simulator software. The problem is that nobody reads the documentation, so most players spend the first few months clicking around blind and missing half the functionality that's sitting right there. This guide covers everything — the targeting system, every shortcut worth using, and the exact shot-by-shot process that makes GSPro rounds feel as natural as playing outdoors.
GSPro works with the widest range of launch monitors of any major platform. See the launch monitor guide for the full compatibility breakdown, or visit the software gear page for a side-by-side of all major platforms.
The Three Targeting Tools
GSPro gives you three ways to see and set your target. Understanding how each one works makes the others click into place.
1. The Minimap
The minimap lives in the bottom-right corner of the screen. It shows a top-down view of the hole — your ball position, the fairway, hazards, and the green. This is your primary targeting interface. Click anywhere on the minimap to set your aim point. A pink circle appears at the landing target, and the yardage display updates to show the distance to that point. Arrow keys let you nudge the aim point with precision after clicking.
2. The Pink Aim Circle
The pink circle appears on the 3D course view whenever you set an aim point on the minimap. It shows exactly where on the course your current aim point falls. If the circle isn't where you think it should be, re-click on the minimap to adjust. The circle updates in real time.
3. The 3D Course View
You can also click directly on the 3D course view to set your aim point on approach shots and around the green. This is particularly useful when you want to aim at a specific spot on the green rather than a general direction. Use F5 to enter free look mode and position your camera to see exactly where you're targeting before committing.
Essential Keyboard Shortcuts
These are the shortcuts that make a real difference in round pace and shot quality. Learn F3 and Y first — they're the ones you'll use on every single hole.
| Key | Function | When to Use It |
|---|---|---|
| F3 | View landing area / cycle camera views | Before every shot — confirms your aim point and see the landing zone |
| F5 | Free look mode — pan camera anywhere | Scout the hole, check hazards, look at the green from the fairway |
| O | Flyover of the hole | First tee shot of each hole to understand the layout |
| Y | Heat map — green contours and break | Approach shots and putting — shows slope and break direction |
| R | Rangefinder — exact distance to any point | When you need precise yardage to a hazard or the front/back of the green |
| Arrow Keys | Fine-tune aim point (up/down/left/right) | After setting aim on minimap to micro-adjust without re-clicking |
| A | Reset aim to default | When aim point gets stuck or you want to start fresh |
| Q / W | Zoom minimap out / in | Zoom in for precise green targeting, out to see full hole layout |
| I / K | Cycle clubs down / up | Club selection without touching the mouse |
F3 is your most important shortcut. Get in the habit of pressing F3 before every shot — not just par 3s and approach shots, but every shot including tee shots. It cycles through camera positions that show your landing area from different angles, which is the fastest way to confirm your aim is correct before you pull the trigger.
Shot-by-Shot Targeting Process
The right sequence for each shot type takes about 10–20 seconds and becomes automatic quickly. Here's the exact process.
Tee Shots
- Press O to watch the flyover — understand the hole shape, where the hazards are, where the safe landing zone is
- Press F5 to enter free look and scout any features the flyover didn't show clearly
- Click on the minimap to set your aim point in the landing zone
- Press F3 to confirm the pink circle is where you intend
- Use arrow keys to fine-adjust left or right for wind
- Hit
Approach Shots
- Press Y for the heat map — look at where the slope breaks and where the safe miss is
- Click on the 3D view or minimap to set aim on the intended spot on the green
- Confirm the pink circle distance matches your intended club
- Press F3 to see the landing area from the approach angle
- Adjust for wind with arrow keys
- Hit
Putting
- Press Y for the heat map — the BLI (Break Line Indicator) shows a suggested putting line based on green contour
- Set your aim point along the suggested line — typically the high side of the hole
- Physical alignment matters: stand at your aim line, not at the hole. Trust the line the heat map shows you.
- Speed control is on you — the heat map shows break, not pace
Common Issues and Fixes
| Problem | Fix |
|---|---|
| Ball not visible / camera stuck | Press F5, then use the down arrow to reset camera perspective |
| Aim point stuck or wrong | Press A to reset aim completely, then press F3 to cycle back to shot view |
| Minimap too small to click accurately | Press W to zoom in before clicking your aim point |
| Pink circle not appearing | Click directly on the minimap — the circle only appears after you set an aim point |
| Distance display showing wrong yardage | Re-click your aim point on the minimap — the display updates on each click |
GSPro vs. E6 Connect vs. TGC 2019
The three dominant sim software platforms each take a different approach to the targeting interface. Here's where they actually differ.
| GSPro | E6 Connect | TGC 2019 | |
|---|---|---|---|
| Price | ~$250/year | $300–$600/year | One-time purchase (no longer updated) |
| Targeting tools | Best — minimap, heat map, free look, rangefinder | Simpler interface, less control | Solid but dated |
| Course library | 1,000+ community-created courses | Premium licensed courses | Large library, no new additions |
| Online play | Yes — active multiplayer community | Yes | Limited |
| Graphics | Good — varies by course | Very good — consistent quality | Good for its era |
| Best for | Variety, community, price | Consistent premium visual quality | Existing users, one-time cost preference |
GSPro wins on value, targeting depth, and course variety. E6 Connect wins on visual consistency and a more polished out-of-box experience. TGC 2019 is best for users already invested in it — new builds should generally start with GSPro or E6.
Launch Monitors Compatible with GSPro
GSPro works with a wider range of launch monitors than any other major platform. Unlike Trackman software, there are no CPU restrictions — Intel or AMD both work. Current compatibility includes:
- SkyTrak+ — direct integration, WiFi or Ethernet
- Garmin R10 / R50 — Bluetooth connection, excellent value entry point
- Uneekor Eye XO, Eye Mini, QED — all models supported
- Foresight GCQuad, GC3, GCHawk — full integration via FSX/GSPro bridge
- Trackman (iO and TM4) — supported, though most Trackman users run Trackman's own VG3 software
- FlightScope Mevo+ — supported
- Full Swing Kit — supported
For the full launch monitor comparison with accuracy ratings and pricing, see our launch monitor guide.
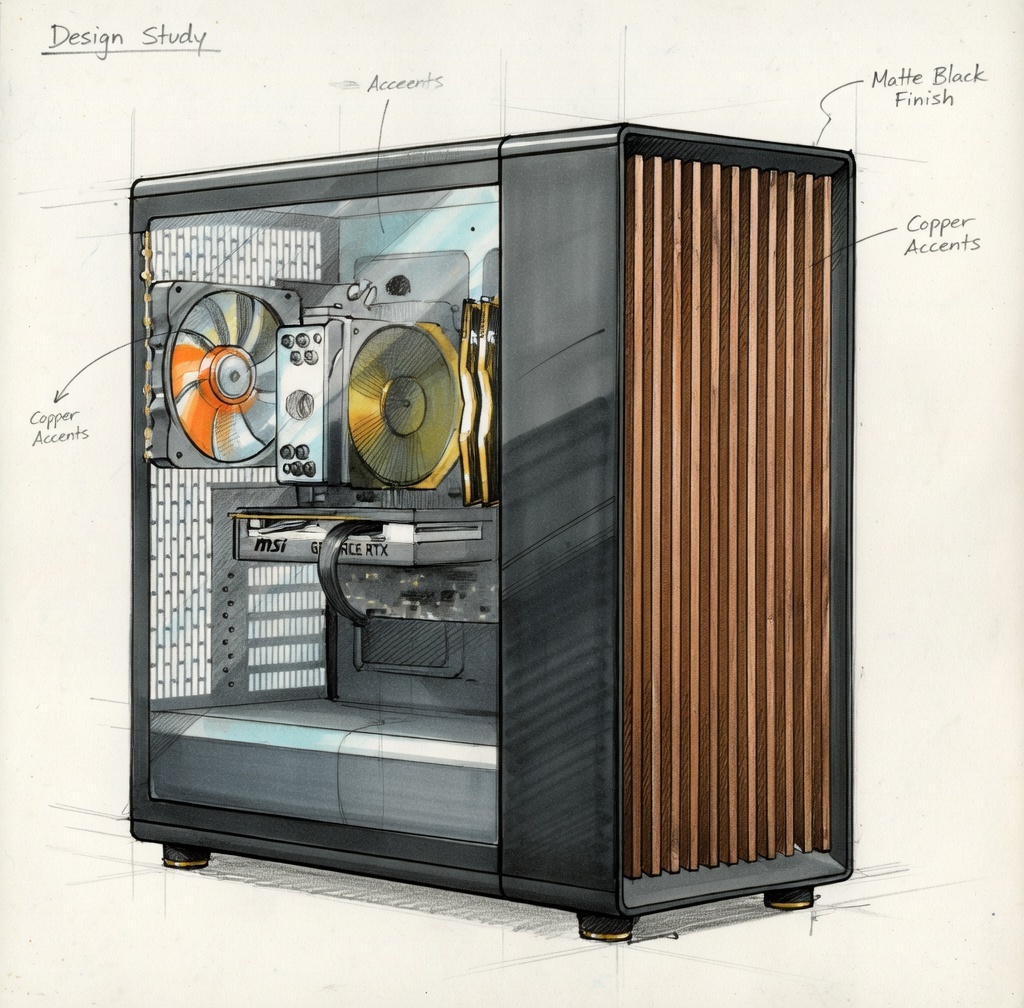
PC Requirements for GSPro
GSPro is the least demanding of the major software platforms and the most forgiving on hardware. Published minimums:
- GPU: NVIDIA RTX 3060 or equivalent (RTX 3070+ recommended for consistent 60fps)
- RAM: 16GB minimum (32GB recommended)
- CPU: No restrictions — Intel or AMD both work fine
- Storage: 100GB+ for course library
- OS: Windows 10/11 (64-bit)
For full PC spec guidance including 2026 GPU pricing and prebuilt recommendations, see our golf simulator computer guide.
Launch House Golf designs and installs custom golf simulators across the US. Veteran-owned. 200+ builds. 48 states. We spec and install GSPro setups regularly — reach out if you have questions.