The single most common mistake we see in DIY simulator builds: someone buys the launch monitor first. They find one they love, order it, and then figure out the room. Two weeks later they're measuring the garage and realizing the ceiling is 9'2" and the launch monitor they bought requires 10'4" of clearance. Or the PC they have is AMD and the Trackman they ordered requires Intel.
The right order is space first, software last. Every decision in between has to be constrained by what came before it. Here's the process we use on every build — from a first-time residential install to a multi-bay commercial facility.
Why Order Matters
The components of a golf simulator are tightly interdependent. The enclosure size is constrained by the room. The projector throw distance is constrained by the room depth and enclosure width. The launch monitor is constrained by ceiling height and enclosure type. The software is constrained by the launch monitor. The PC is constrained by the software.
When you pick a launch monitor before evaluating your space, you may be locked into requirements your room can't meet. When you pick software before your launch monitor, you may find your monitor isn't compatible. Ordering equipment before you've designed the room is the most expensive mistake we see. Replacing a launch monitor because the room doesn't fit it, or returning a projector because the throw distance is wrong, costs real money and real time.
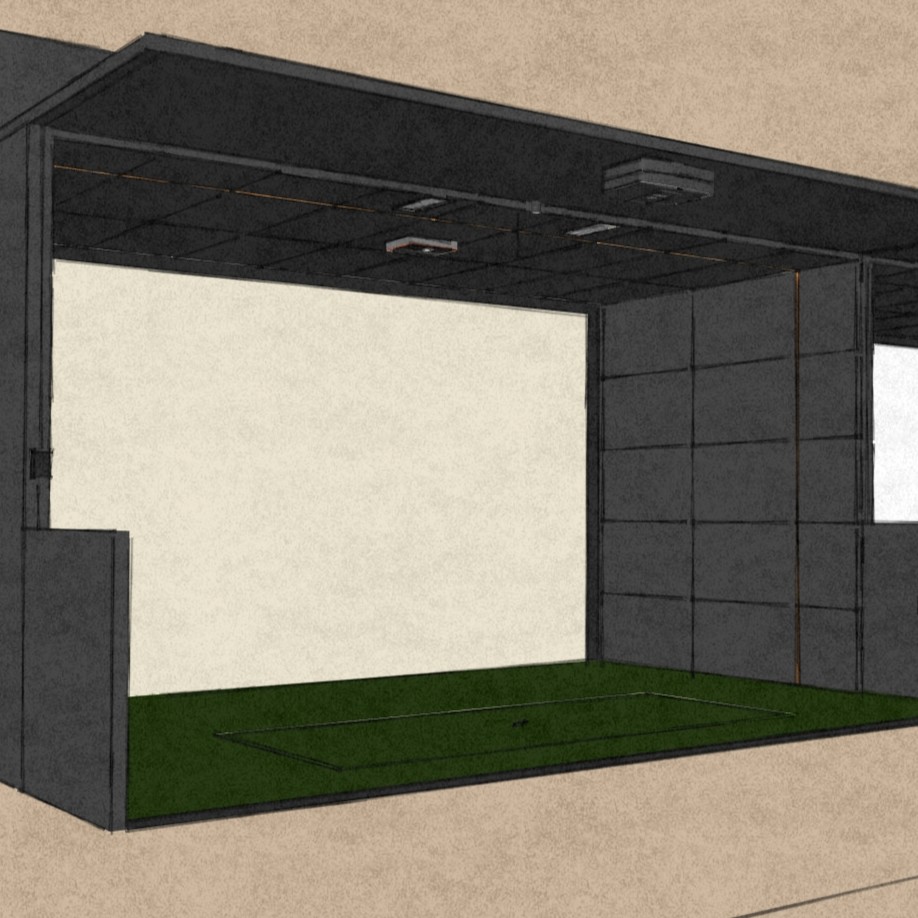
Step 1 — Evaluate Your Space
Before anything else, measure the room and understand its constraints. The three critical dimensions:
Room Dimensions — Targets and Minimums
Beyond raw dimensions, note every obstacle that could affect ceiling clearance or floor layout: garage door tracks and hardware, HVAC ducts and vents, structural beams, sloped ceiling areas, electrical panels, water heaters. These aren't just inconveniences — they determine what enclosure type is possible and where the equipment can physically go.
Take photos of all four walls and the ceiling. Measure everything twice. A 2-inch error in ceiling clearance can determine whether a specific launch monitor is viable or not.
Step 2 — Power and Connectivity
Most residential spaces are not set up for a golf simulator out of the box. Evaluate power before you plan the equipment layout.
You need a minimum of 2–3 dedicated circuits. Here's why:
- Projector — high-lumen laser projectors draw 3–5 amps continuously. They also generate significant heat. They should not share a circuit with other high-draw devices.
- PC — a gaming PC with an RTX 5080 and peripherals can draw 8–12 amps under load. Dedicated circuit.
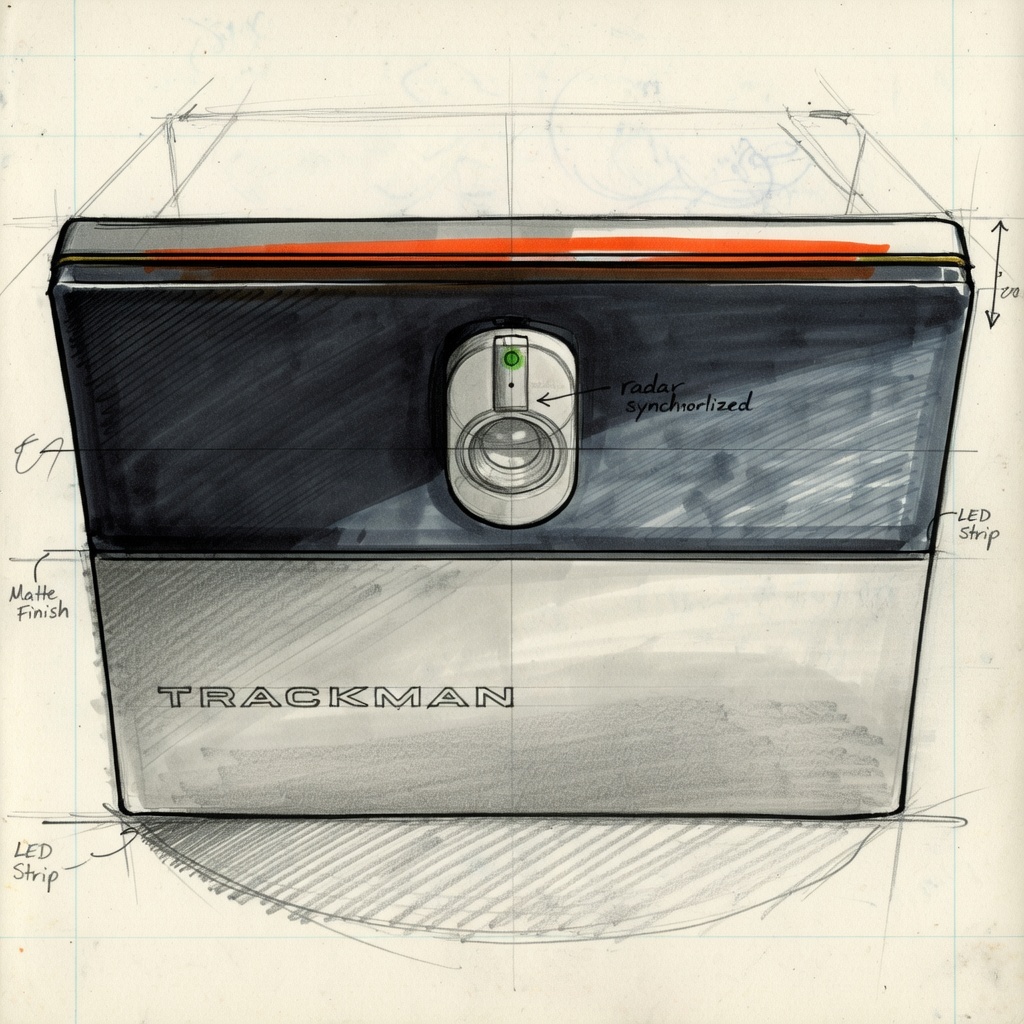
- Launch monitor — ceiling-mounted systems like Trackman iO, Uneekor Eye XO, or Golfzon require dedicated power at the ceiling mount point. This is a circuit run that needs to happen during rough-in, not after walls are finished.
Surge protection is not optional. A power surge that kills a $14,000 launch monitor is not covered by standard homeowner's insurance. Use a quality UPS or whole-circuit surge protection.
For connectivity: hardwire everything. Launch monitors, the PC, and any networked displays should be on Ethernet, not WiFi. Online play, launch monitor data streaming, and software updates all benefit from a reliable wired connection. Run Cat6 during rough-in if the room is being constructed or renovated — it's inexpensive and nearly impossible to add cleanly after the fact.
Step 3 — Choose Your Enclosure Type
Your room use case determines your enclosure type. This decision happens before you pick specific equipment because the enclosure dictates mounting positions, throw distance, and in some cases launch monitor compatibility.
| Room Use | Enclosure Type | Examples |
|---|---|---|
| Dedicated room, no other use | Permanent pipe frame | Carl's Place, SimSpace enclosures |
| Garage or shared space | Retractable motorized | GungHo, Sportscreen |
| Space-constrained or multi-use | Foldable system | Murphy Simulator |
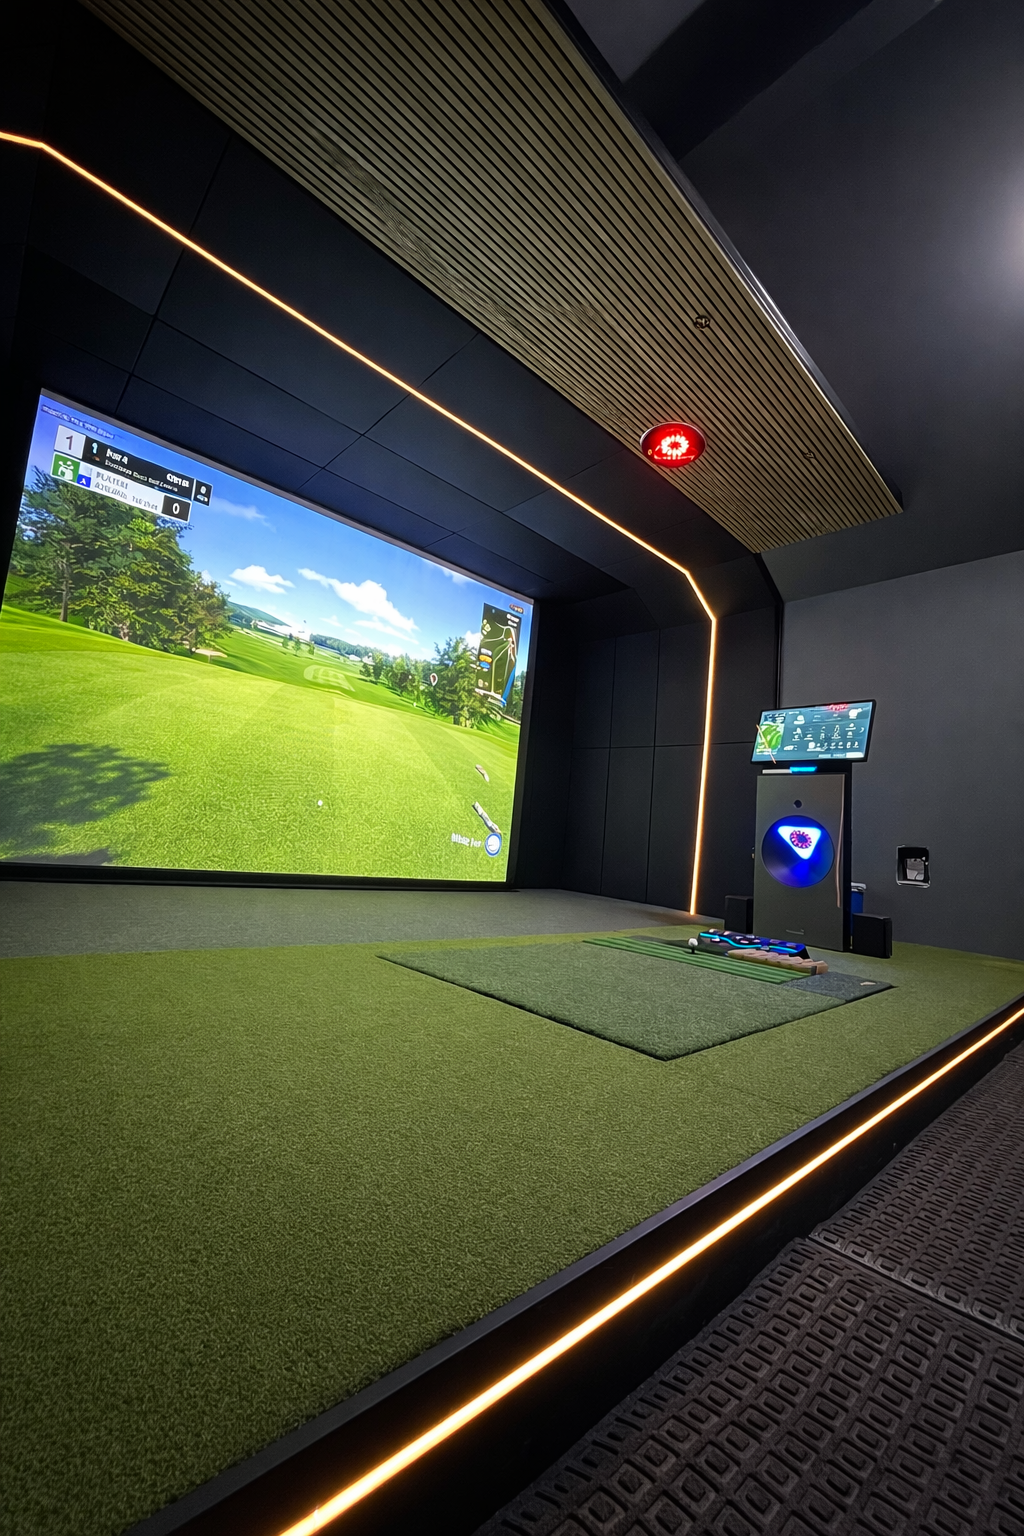
| Premium dedicated room, architectural integration | Custom wood framing or full room makeover | LH-designed — built-in carpentry, custom padded walls & ceiling, 3D-designed environment |
| Commercial entertainment bay | Permanent build-out or integrated system | Rapid Bay, Carl's Place, full Golfzon installation |
The trade-offs are real. A permanent pipe frame is the simplest and most durable option for a dedicated room. A retractable system like GungHo allows full use of the garage when the sim is stowed — up and down in under a minute. A Murphy foldable is the right call when you need the room for other purposes and can't sacrifice the floor space. And at the high end, a custom wood-framed or full room makeover build integrates the simulator into the architecture of the space — padded walls, built-in carpentry, custom lighting — the kind of result that makes the sim room the best room in the house.
For the full enclosure comparison, see our enclosure guide. For LH's full range of options including the Rapid Bay and custom room builds, the enclosures gear page covers all of it.
Step 4 — Select Your Components
Now that you know your space, your power capacity, and your enclosure type, you can select components in the right order. The sequence matters here too:
- Launch monitor — this is the most important decision in a simulator build. It determines software compatibility, PC requirements, and ceiling height constraints. Pick this first among your components. See our launch monitor guide for the full breakdown.
- Enclosure and screen — sized to your room dimensions, constrained by your ceiling height and width
- Projector — sized to your screen and throw distance. Don't pick a projector before you know your enclosure dimensions. See the projectors page for current options.
- Hitting mat and turf — sized to your hitting bay footprint
- PC — spec'd to your software requirements. For Trackman, Intel is required. For GSPro and others, AMD is fine. For current GPU and CPU recommendations, see our computer guide.
- Software — selected based on your launch monitor compatibility and use case (play-focused vs. coaching-focused)
Don't spec components in isolation. A projector that's perfect for one screen size may be completely wrong for another. A launch monitor that works great for GSPro may require a specific ceiling mount height that your room can't accommodate. These components have to work together — spec them as a system, not as individual line items.
Step 5 — Installation and Calibration
Installation is not just mounting things and plugging them in. A simulator that isn't properly calibrated will give you bad data — and bad data is worse than no data because you'll train yourself based on incorrect feedback.
The calibration steps that matter:
- Projector throw distance and alignment — keystone correction, digital lens shift, and corner adjustment to achieve full-screen coverage without distortion. This takes 30–60 minutes done correctly.
- Launch monitor calibration — every launch monitor has a calibration process to sync it to the software and to the specific room geometry. For ceiling-mounted systems, alignment angles and height must be dialed precisely.
- PC networking and software setup — launch monitor to PC communication, software licensing, user profiles, and initial calibration shots
- Safety check — enclosure tension and frame integrity, impact padding coverage on all vulnerable surfaces, clearances around the hitting zone
For Golfzon systems, professional installation is required — the Motion Plate platform and auto-tee integration are not DIY. For most Murphy foldable systems, professional installation is strongly recommended. For Carl's Place permanent enclosures and retractable systems like GungHo, experienced DIY is possible but takes a full weekend and requires careful attention to the calibration steps above.
DIY vs. Professional Installation
The honest comparison:
DIY Advantages
- Lower upfront cost — typically saves $2,000–$8,000 on installation
- Total control over timeline
- You understand every component in your own system
- Good for retractable systems and simple enclosures
DIY Risks
- Miscalibrated launch monitor can give bad data for months
- Wrong projector mount position requires ceiling rework
- Electrical work may require permits in some jurisdictions
- No recourse if something is wrong at setup
A wrongly mounted projector or a miscalibrated launch monitor is the quiet killer of DIY builds. You won't know it's wrong until you've been playing off bad data for three months and your sim distance numbers don't match the course. By that point, finding the root cause is its own project.
The LH DIY+ program bridges the gap. We provide full room design — exact dimensions, equipment spec, mounting positions, electrical layout, calibration parameters — for $1,500. You do the install yourself. You have a professional design behind every decision, and you know exactly what correct looks like when you're done.
Launch House Golf designs and installs custom golf simulators across the US. Veteran-owned. 200+ builds. 48 states. We've done this enough to know where every step can go wrong — reach out before you start if you want a second set of eyes on the plan.