The Challenge
The brief: two-car garage, family still needs parking space during the week, full-quality simulator when in use. No compromises on either end. The system couldn't be a half-measure — it had to perform like a real sim — and it couldn't eat the garage permanently.
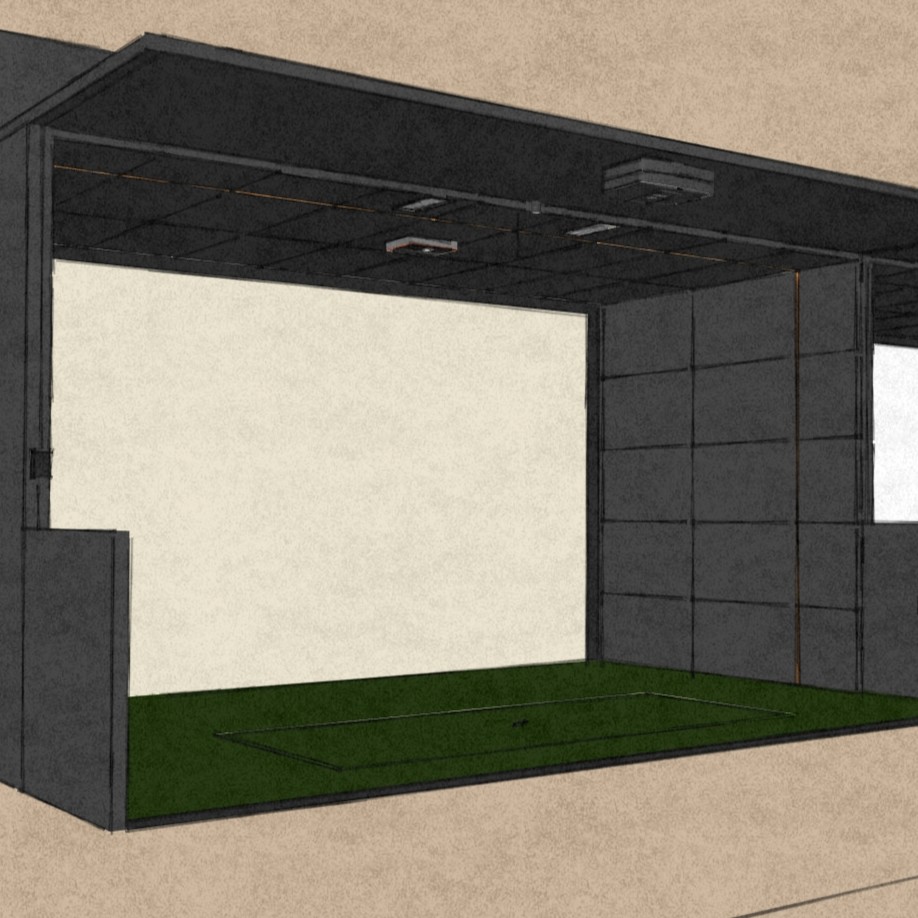
The GungHo retractable system was the right answer. Motorized screen, motorized side curtains, ceiling-mounted projector, hardwired launch monitor — when it's deployed, it's a professional simulator. When it stows, the screen and side curtains roll up to the ceiling, the projector stays mounted but dormant, and the cars go back in. The whole transition takes under 60 seconds. This is the build walkthrough.
Before committing to a retractable setup, read our design process guide — specifically the room measurement and power planning sections. The GungHo installs cleanly when the prep work is done right and creates expensive headaches when it isn't.
Measuring and Mounting the GungHo
Start by measuring the usable width of the space — not the garage width, but the clear span between any obstructions: cabinets, electrical panels, water heaters, wall-mounted shelving. The GungHo bracket positions are derived from this number. Get it wrong here and you're patching ceiling holes.
The process:
- Mark bracket locations using the actual GungHo brackets as templates. Hold them up to the ceiling at the intended positions, mark the hole locations with a pencil. Don't measure and mark separately — bracket tolerances are tight enough that measuring twice and then holding the bracket up and finding it's slightly off is a real problem.
- Pre-drill into ceiling joists only. Use a stud finder before picking up the drill. The GungHo screen is heavy under tension — if you're not anchoring into solid framing, you're waiting for the day the mount fails mid-round.
- Connect the screen tube to the brackets temporarily before final mounting. Power on the motor, lower the screen, and confirm position and tension before driving the final fasteners. It's much easier to shift a bracket 2 inches before the screws go in than after.
- Side curtain rollers install approximately 6 inches in from the edges of the main screen. The inset design is intentional — it protects the walls from mis-hits and gives the side curtains clearance to hang without bunching against the enclosure edges.
Motor Installation and Programming
Each roller — main screen plus two side curtains — has its own motor. The motor drops into the tube end and mounts to the bracket assembly. Before Velcroing the fabric to the tube, run the motor through a full cycle to verify it's turning in the right direction and the travel limits aren't set.
Programming the limits is the step most DIYers rush and then regret. Do it carefully:
- Lower each roller manually to its desired bottom position, then set the lower limit via the motor remote
- Raise each roller to its fully retracted position, then set the upper limit
- Test 3–4 full cycles before attaching the fabric — motors can drift slightly after the first few runs
- Once limits are confirmed, Velcro-attach the hitting screen to the main tube and the side curtains to their respective tubes
After fabric attachment, run 2–3 more cycles. The added fabric weight changes the motor behavior slightly. Confirm both limits are still clean. Once they are, the GungHo is fully programmable from the remote — one button up, one button down. That's all the operation ever requires.
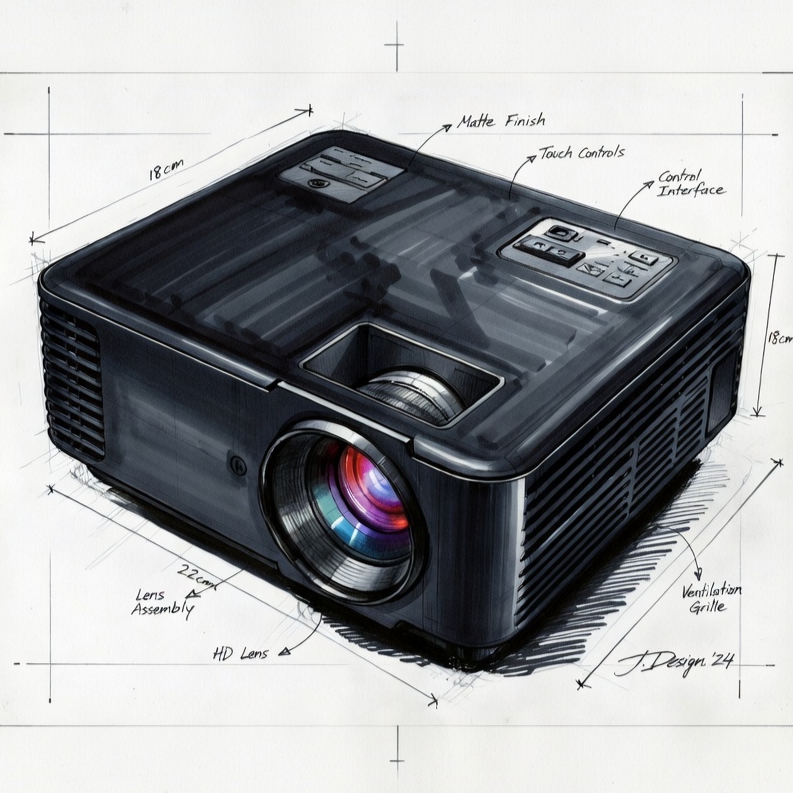
Projector Mounting
Ceiling mount over a floor stand for this build — every time, for a permanent install. A ceiling-mounted projector doesn't need to be repositioned, doesn't get knocked over, and produces a cleaner look. The trade-off is that the mount position has to be right before the holes go in.
The test-fit process:
- Set the projector on a ladder or sawhorse at approximately the desired ceiling mount height
- Power it on and project onto the screen at the expected throw distance
- Confirm the image fills the screen correctly — if it doesn't, adjust throw distance before marking mount holes
- Use BenQ's projection calculator (or the equivalent tool for your specific projector model) to confirm throw distance and mounting height before a single hole goes in the ceiling
Once the mount position is confirmed and the projector is secured, calibrate the image: keystone correction first, then digital lens shift to center the image precisely, then corner adjustment to fine-tune coverage at all four corners. This process takes 30–45 minutes done properly. Don't skip the corner adjustment step — a projector that looks right from center often shows distortion in the corners that becomes obvious during play.
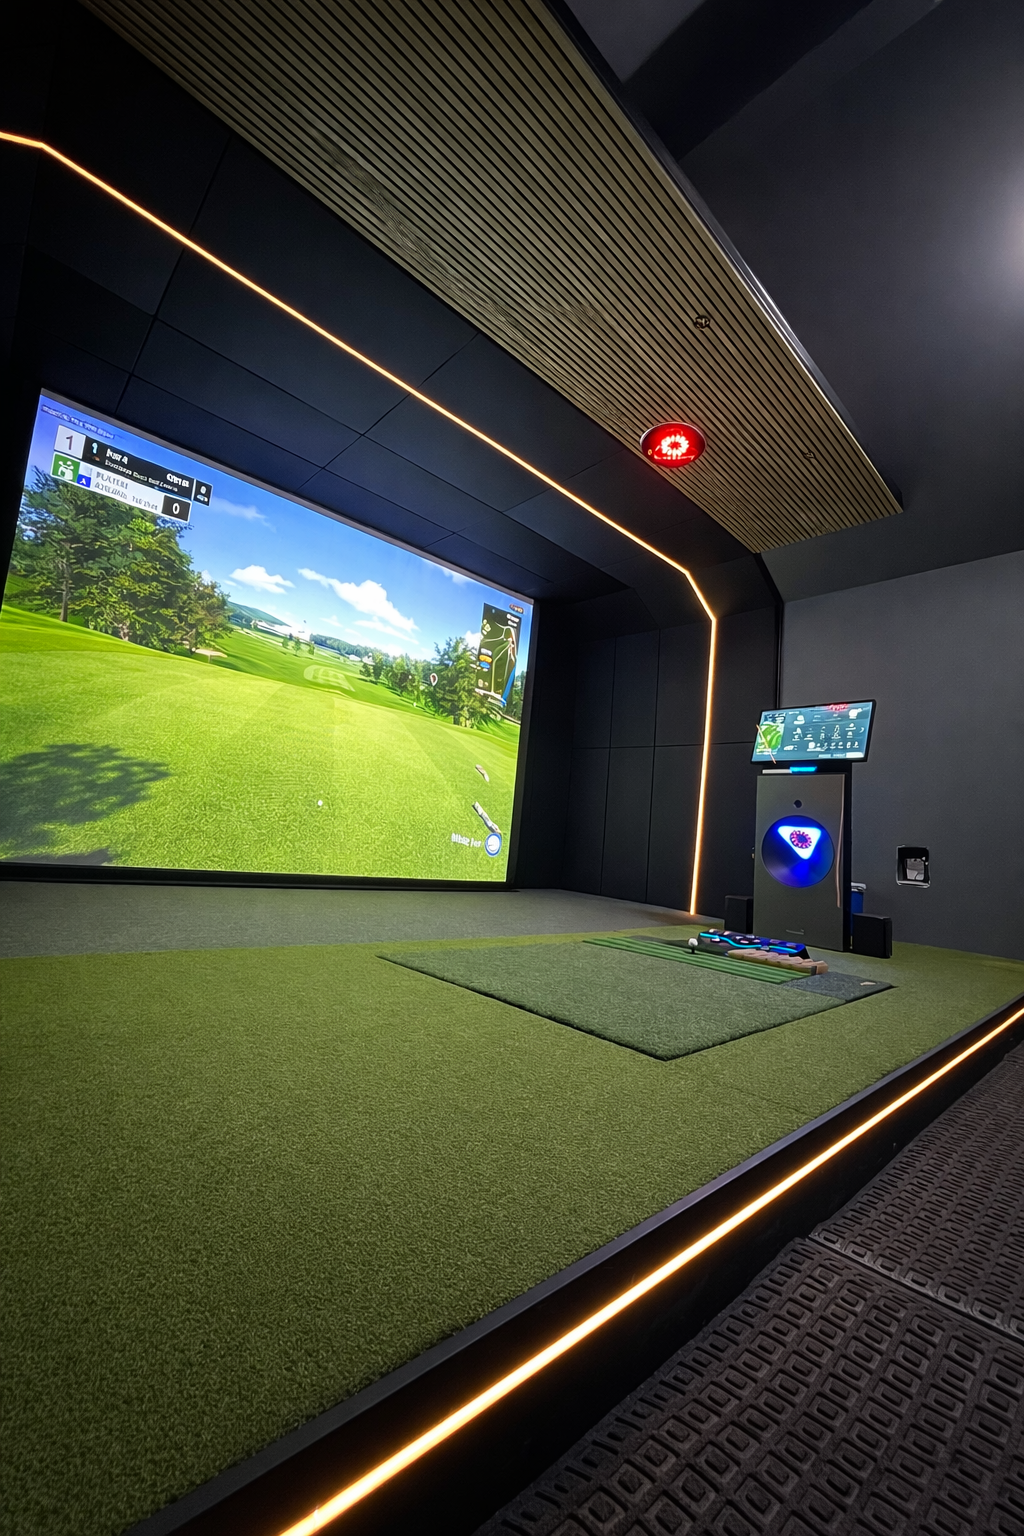
Launch Monitor & Turf Integration
This build used an Uneekor Eye XO — a ceiling-mounted launch monitor that requires precision alignment and hardwired connections. Three cables run from the ceiling mount point to the PC location: Ethernet for data, HDMI for the monitor feed (on some configs), and power. All three were routed during rough-in through the ceiling cavity. Clean finish, nothing hanging.
Alignment is critical for ceiling-mounted launch monitors. The Eye XO has specific positioning requirements relative to the hitting position — consult the installation documentation for your specific monitor and don't shortcut the alignment step. A misaligned ceiling-mounted monitor can give systematically skewed data that's invisible until you've been puzzled by consistent left/right errors for two months.
For portable floor-mounted monitors (like an Eye Mini or a SkyTrak+), the setup is simpler: position to spec, connect via USB or Bluetooth, and calibrate in software. The floor-mount approach is the right call when you need the monitor to be movable or when ceiling mount isn't possible.
Turf last:
- Full turf roll across the entire hitting bay — not just the hitting mat area. This protects the floor, looks intentional, and gives you clear visual feedback on your stance and alignment.
- Quality hitting mat positioned in the center of the bay, sized appropriately for the enclosure width
- Gel hitting strip in front of the mat for realistic shot feedback and joint protection on high-volume use days
Final Setup and Testing
With all hardware in place, the final setup sequence:
- Launch the launch monitor software and validate that the monitor is communicating with the PC — look for the green connected status, not just "detected"
- Hit 10–15 calibration shots and verify the data looks right: ball speed, spin, and distances should be in the expected range for the clubs you're hitting. If a 7-iron is showing 220 yards of carry, something is wrong before you go further.
- Confirm video playback quality — project a test image and verify there's no visible distortion, color banding, or dead pixels
- Test the GungHo through a full raise-and-lower cycle with the projector on. Verify the screen doesn't contact the projector beam housing during travel. Verify the side curtains deploy and retract cleanly without bunching.
When all systems communicate cleanly and the data validates: tee it up.
The Result
When the GungHo is deployed, this is a full professional simulator. 4K projector filling a 128" screen, ceiling-mounted launch monitor, quality turf underfoot. The kind of setup that holds up against any commercial bay you'd pay $60 an hour to use.
When it's stowed, it's a two-car garage. The screen and side curtains sit rolled at the ceiling, invisible unless you're looking for them. The projector is ceiling-mounted and dormant. The turf roll can be pushed to the wall or left out depending on preference.
The transition is genuinely under 60 seconds. One button on the remote to deploy, one button to stow. No setup time, no teardown time. The family gets their garage back, and you get a real simulator whenever you want it.
If you're running a retractable setup commercially — a pop-up sim bay, a training space that doubles as something else, or a rapid-deployment venue setup — see our Rapid Bay commercial program for how we structure those builds.
Launch House Golf designs and installs custom golf simulators across the US. Veteran-owned. 200+ builds. 48 states. If you're building a retractable setup — residential or commercial — reach out. We've done a lot of them.