
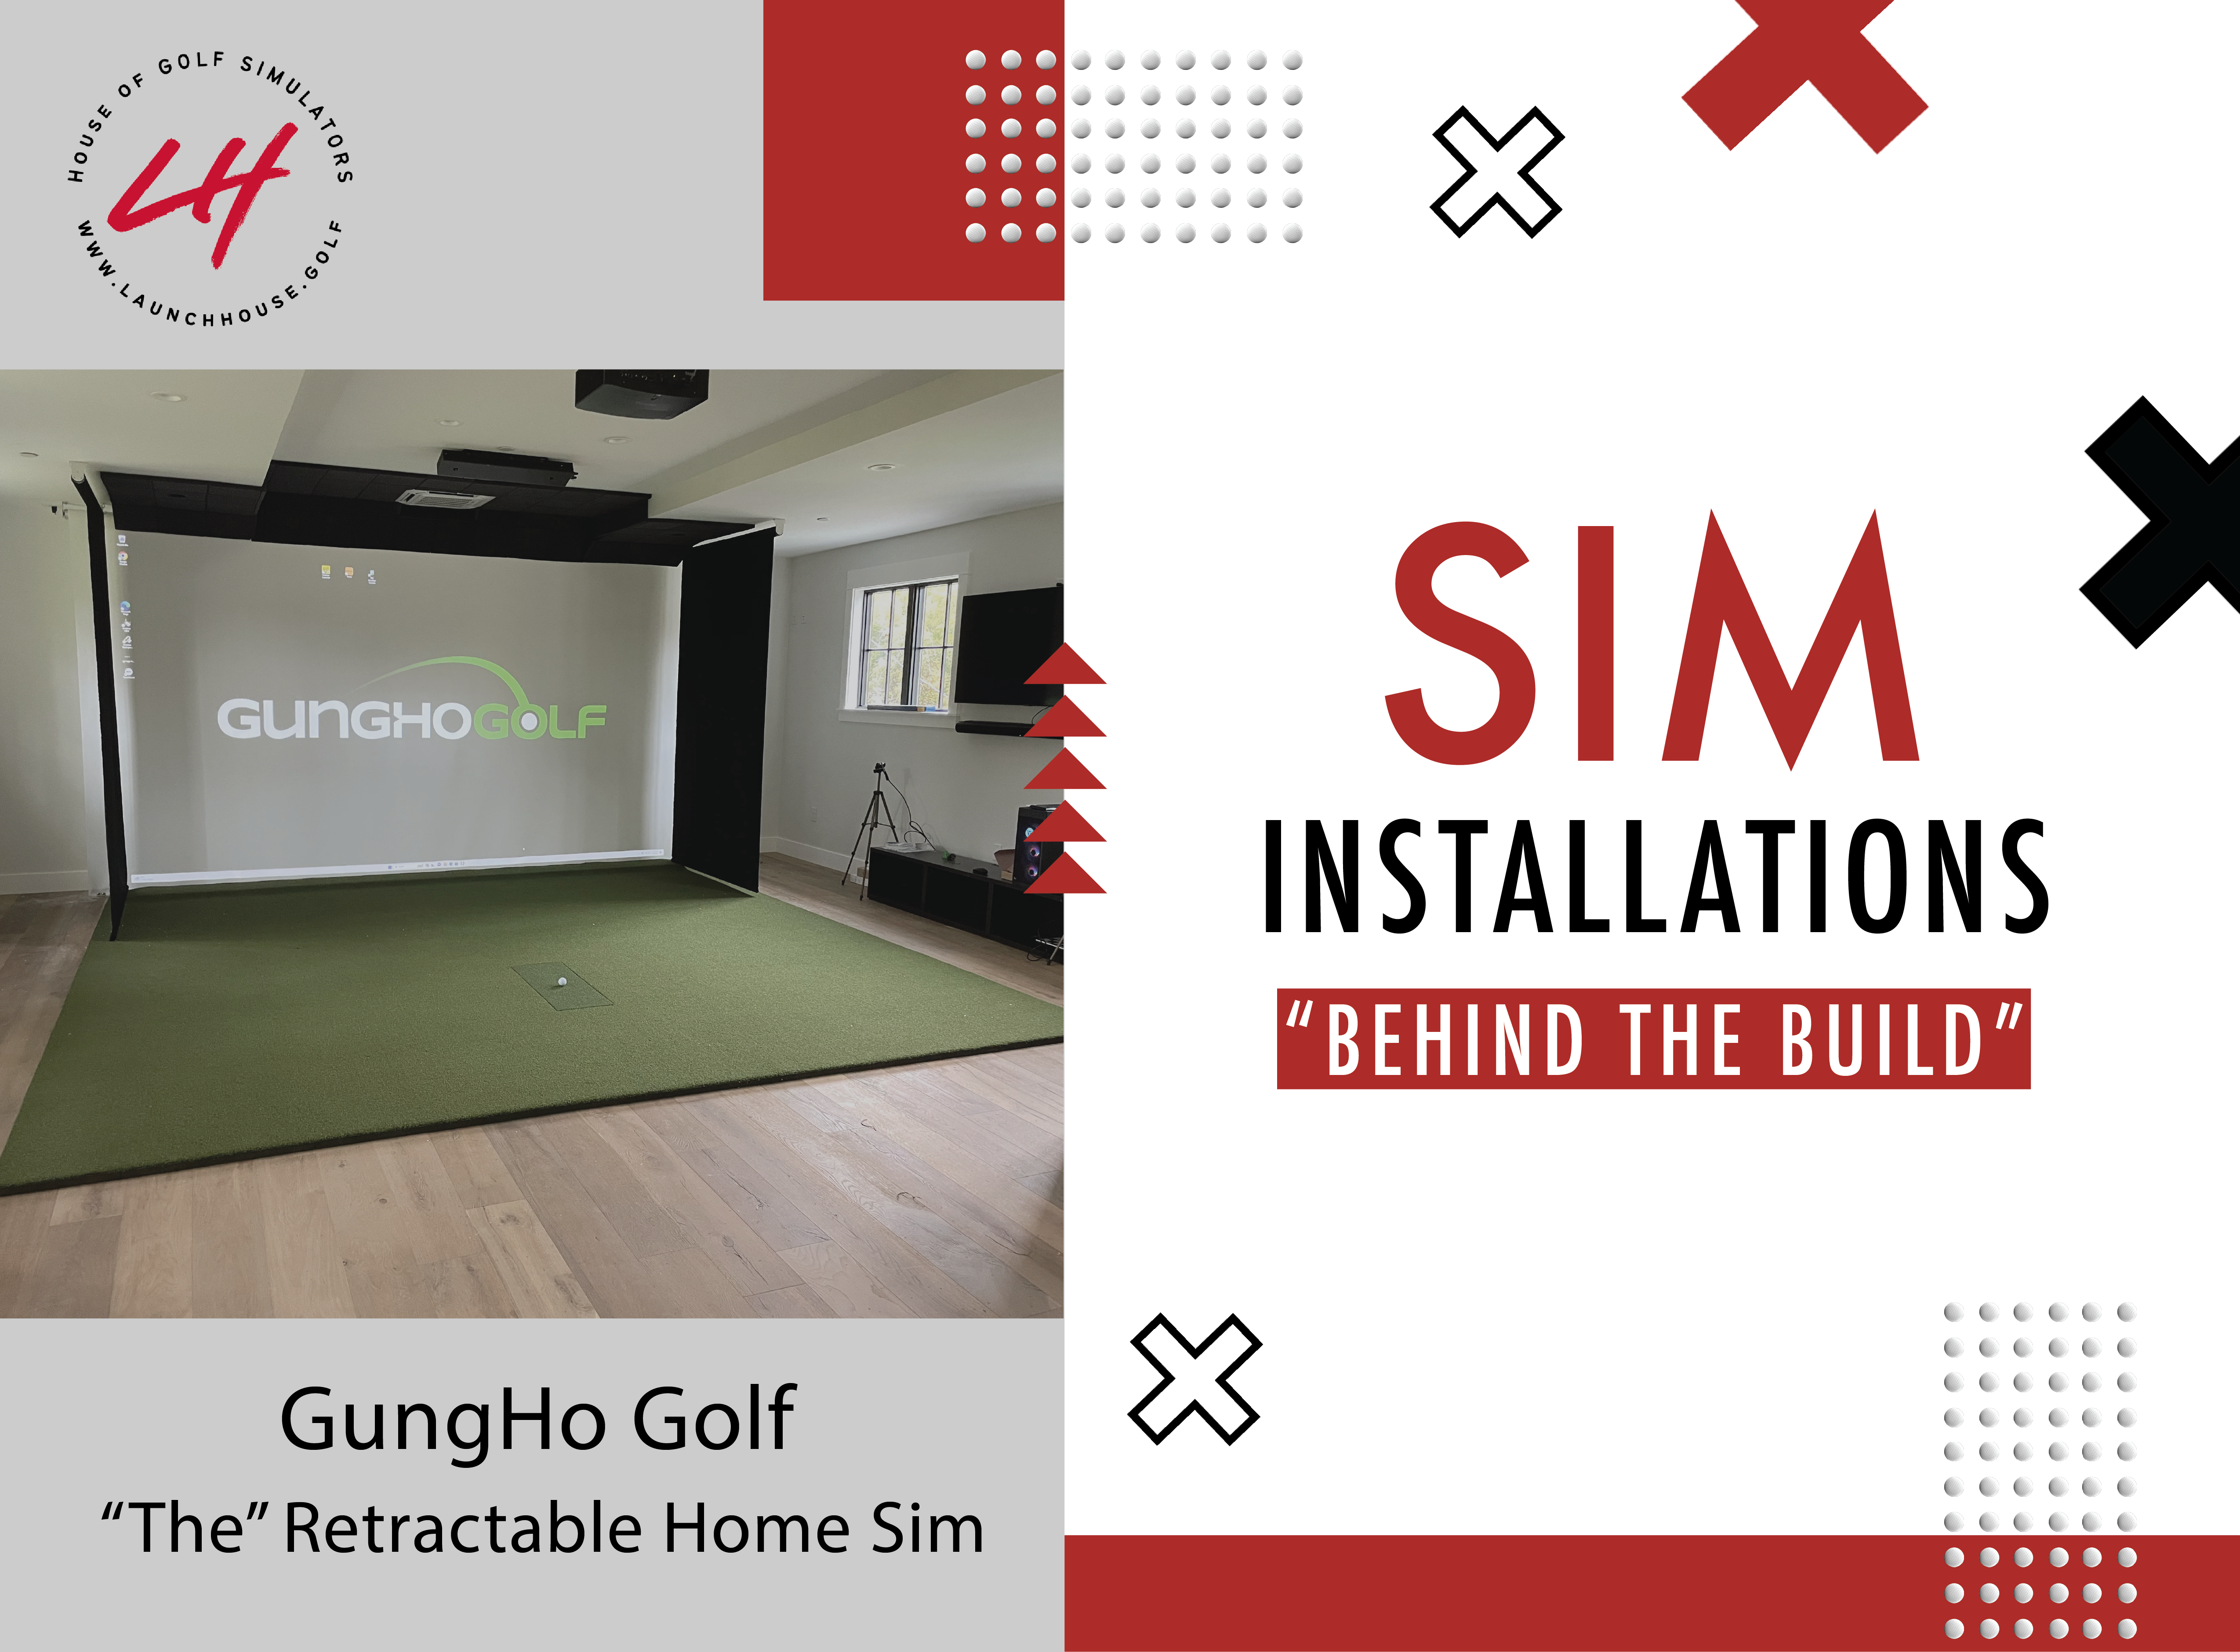
At Launch House Golf, we pride ourselves on delivering simulator setups that look professional, feel premium, and fit real homes — without turning your space into a construction site. One of our favorite recent builds took place in a spacious two-car garage, where we installed a GungHo retractable enclosure, projector, launch monitor, and full turf/hitting mat combo.
Here’s exactly how we did it — step by step.
1. Measuring and Mounting the GungHo System
We began by carefully measuring the left and right boundaries of the screen area. In garage installs, it’s especially important to avoid fixed obstacles like cabinets, electrical panels, or water heaters. Once the usable width was confirmed, we:
-
Marked the mounting bracket locations using the actual GungHo brackets as a guide
-
Pre-drilled holes into the ceiling joists (always use a stud finder for solid anchor points)
-
Connected the screen tube to the brackets temporarily so we could draw exact positions before final mounting
We repeated a similar process for the side rollers, installing them about 6 inches in from the edges of the main hitting screen. This inset design helps absorb mis-hits and protects the walls from errant shots.
2. Installing and Programming the Motors
With the brackets up, we inserted the motors into the screen and curtain tubes and mounted everything securely.
Next came the programming phase:
-
Velcro-attached the main hitting screen and side curtains
-
Used the motor remote control to set upper and lower limits
-
Programmed the top and bottom stops for all three rollers (main screen + 2 side curtains)
Once dialed in, the GungHo retractable enclosure could be raised or lowered with a single click.
3. Projector Setup and Calibration
To mount the projector, we recommend a ceiling mount for a clean and permanent feel. Before committing to screw holes, we always test-fit:
-
Set the projector on a ladder at screen height
-
Powered it on to check throw distance and alignment
-
Adjusted for screen fill and sharpness
🧠 Pro Tip: Use online tools like BenQ’s Projection Calculator to estimate throw distance, image size, and mounting height based on your exact projector model.
Once mounted, we used the built-in software tools (keystone correction, digital lens shift, and corner adjustment) to fine-tune the projection and ensure full-screen coverage.
4. Launch Monitor + Turf Integration
Depending on the launch monitor model, the process will vary:
-
Ceiling-mounted monitors (like Uneekor Eye XO or Eye XO2) need to be aligned precisely and wired with Ethernet, HDMI, and power
-
Portable floor units (like the Eye Mini or Bushnell) can be moved on/off the hitting area and connected to your sim PC via USB or Bluetooth
Once the launch monitor is set up and connected, we move on to turf.
-
We typically install a full turf roll across the hitting bay
-
Then place a high-quality hitting mat in the center
-
Inside that mat, we insert a replaceable gel hitting strip for realistic feedback and joint protection
💡 Why it matters: The hitting strip is what your club interacts with, so a soft-yet-durable gel insert makes a major difference for feel and shot realism — especially for players who take full swings or practice regularly.
5. Final Touches + Go Time
Once everything is wired up and communicating:
-
We test the launch monitor-to-software connection
-
Validate swing capture, shot tracking, and video playback
-
Ensure every piece of tech responds smoothly with the simulator software (GSPro, E6 Connect, FSX, etc.)
After that — you’re ready to tee it up.
6. See the Real Setup
We documented this garage build with video and photos — check them out below for real-life inspiration and see how clean this setup came out.


Want a GungHo Setup Like This?
Whether you're working with a garage, spare room, or commercial space, we can design a retractable simulator setup to fit your space and your game. Our team will walk you through each step — from planning to projector to post-install support.
🔧 Ready to start building yours? [Book a Consultation] or [Use the Sim Calculator] to customize your setup.
Share:
Choosing the Right Enclosure for Your Golf Simulator
Aiming in GSPro: Master Golf Simulator Targeting